This tutorial was written with a pre-release version of the software. There may be differences with the user interface in the current release version.
OpenScan Hardware Configuration
Before performing your first scan OpenScan Composer needs to know information about your specific hardware setup. The Hardware Configuration window will open immediately when the application starts if it has not yet been setup, and can be accessed any time by selecting Device -> Configuration from the menu.
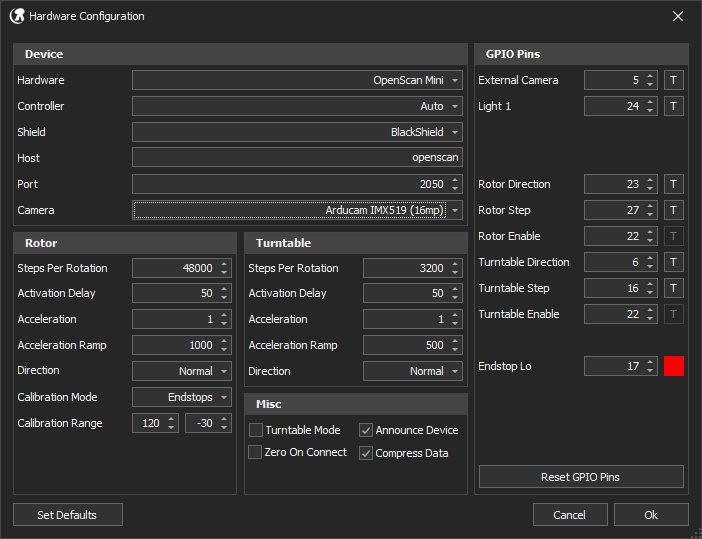
Select your Hardware Type, Controller Type, Shield Type, and Camera Type. All other settings are pre-initialized with default values which should work with unmodified OpenScan hardware. Click the Ok button to save your changes.
Hardware Type: OpenScan Mini, Midi, or Classic.
Controller Type: Raspberry Pi 5/4/3/Zero or Auto (default) to autodetect the controller.
Shield Type: GreenShield (default, this is what you have if you ordered hardware from OpenScan), BlackShield (available via Discord), or RedShield (options for all available hardware modded features).
Camera: IMX519 or Hawkeye, must be set to the correct camera. On Raspberry Pi 5, the camera must be connected to the cam0 port.
For further information on all the available configuration options please visit the guide.
Connecting to your OpenScan Device
Ensure your OpenScan device is powered on and that the boot sequence has been given time to complete (the ringlight will flash indicating successful initialization; this usually takes less than 30 seconds, but may take longer the first time your device boots). Connect to the device by selecting Device -> Connect from the menu.
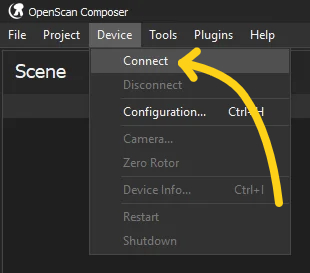
When a connection is successfully established the ringlight will flash and the turntable will rotate 360 degrees in each direction. If Zero On Connect has been previously enabled (disabled by default), the rotor position will be immediately zeroed using the selected calibration method. Automatic device connection on startup can be enabled using the Settings window accessible via File -> Settings on the menu.
Object Preparation
Photogrammetry based scanning relies on recognizing small details across multiple photos to determine their relative locations and reconstruct the object. The best way to achieve the details necessary to achieve high quality scan results is to spray a pattern of tiny dots in a constrasting color onto the object. There are multiple ways of doing this including specialized scanning sprays, chalk spray, and spray paint. In the example below the OpenScan Benchy miniature was basecoated with matte black spray paint, followed by a second light coating of matte white to create a pattern of fine white dots.
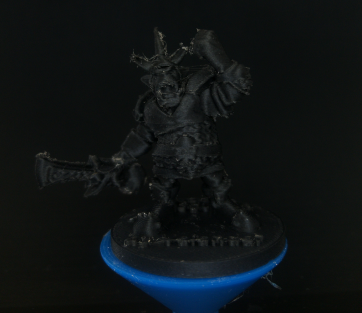
Printed Miniature (no features)
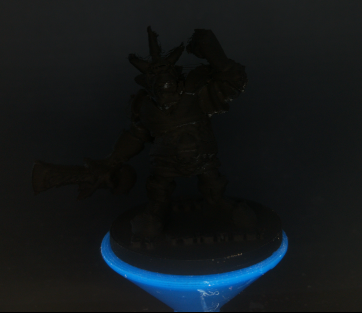
Matte Black Basecoat (too dark)
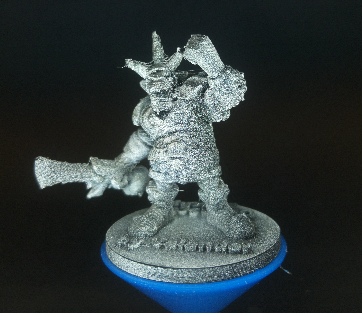
Light Spray with Matte White
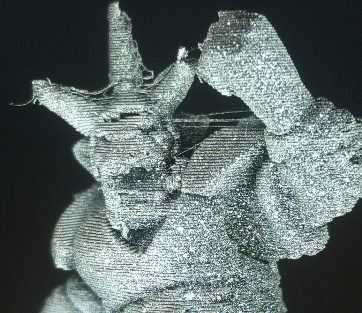
Close Up
Scanning
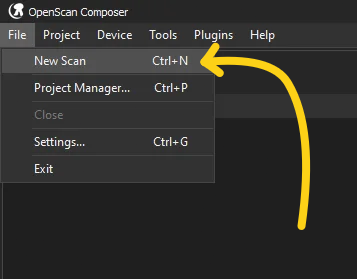
Select File -> New Scan from the menu. If the device is currently disconnected a connection attempt will be made using the previous settings.
The Scan Window will now be displayed allowing you to configure your scan settings. For your first scan it is a good idea to leave most of the settings alone. By default, OpenScan Composer will take 100 photos at various positions around the model using Autofocus to determine the best focus distance. For a full description of all possible scan settings please visit the guide.
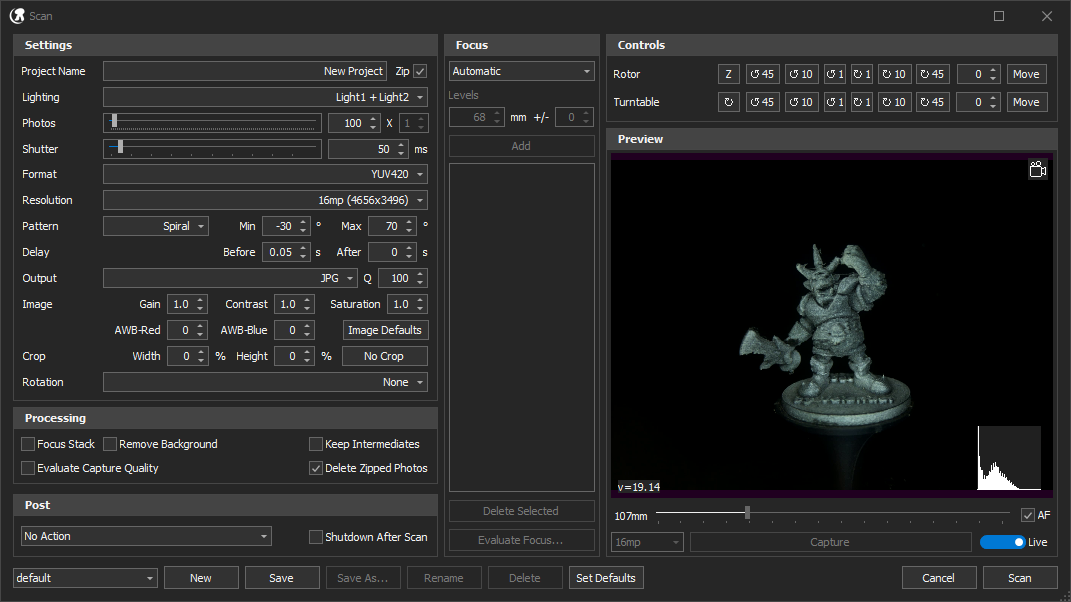
If your device does not have at least one endstop installed or you have not previously selected either Slip or Endstop based calibration, then you must manually zero the rotor position so that the camera is level with the object before starting the scan. Use the rotor controls in the top right of the window to move the rotor so that the camera is vertically level with the object.
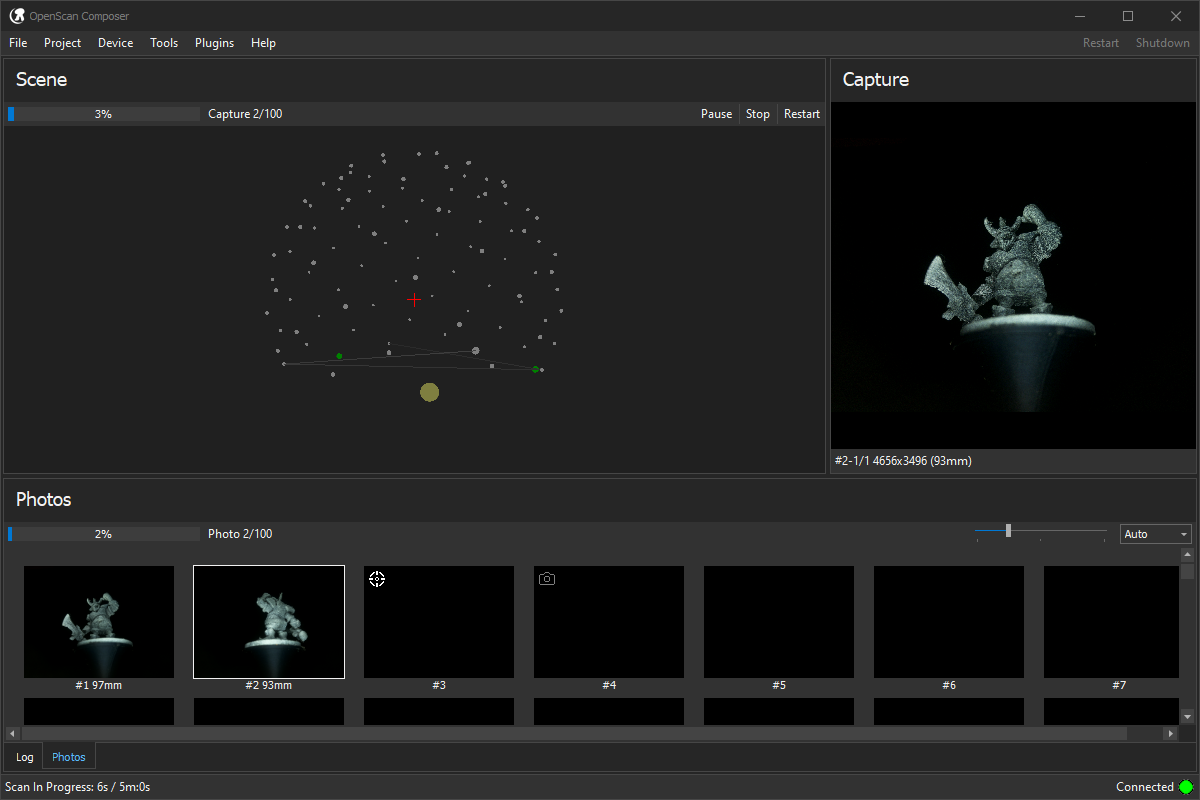
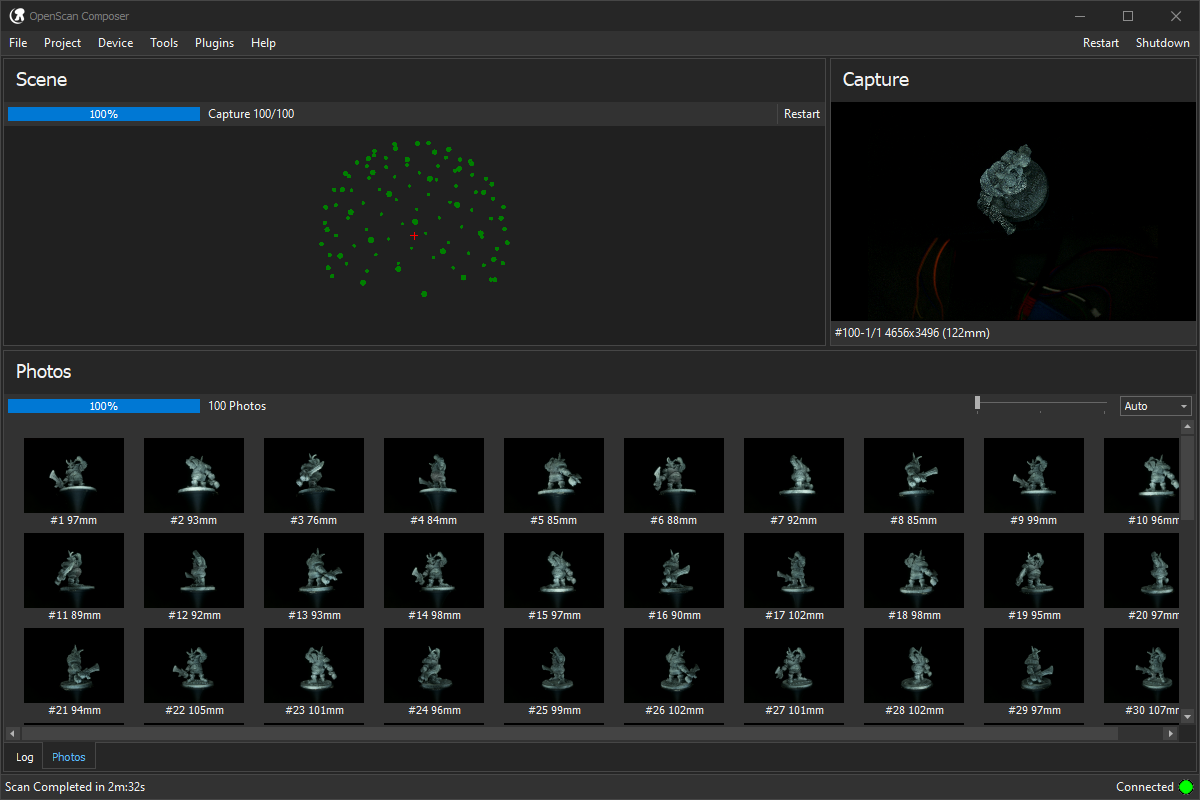
Press the Scan button to start the scan. The main window has three panels, the Scene panel, which shows the progression of capture locations around the target, the Capture panel, which shows the last image captured from the camera, and the Photos panel which shows the completed and processed photos. As the scan progresses the Photos panel will gradually fill up with previews of the captured photos until the scan is complete.
Processing
When your scan is complete it can automatically be prepared for processing using the OpenScan Cloud or in MetaShape Pro via the Project -> Process menu. Alternatively, you can view the captured photos and manually process them using whatever method you wish by choosing Project -> Open Project Folder… from the menu.
OpenScan Cloud Uploader
NOTE: OpenScan Cloud is not associated with the developers of OpenScan Composer.
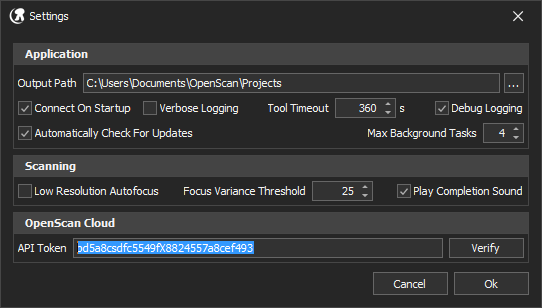
Please see the OpenScan Cloud website for information on how to obtain an API Access Key, which can then be entered via the File -> Settings Menu. Once an API Key has been obtained and added, your scans can automatically be uploaded by selecting Project -> Process -> OpenScan Cloud from the menu.
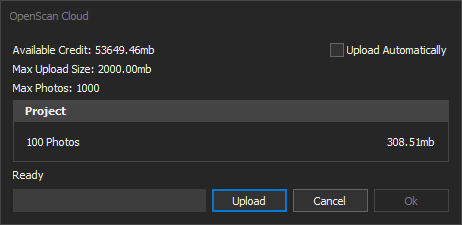
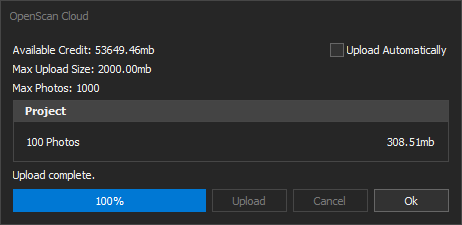
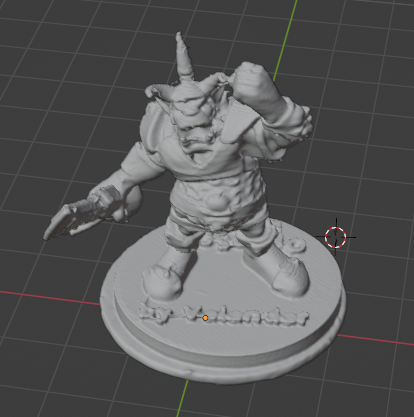
When the photos have been processed OpenScan Cloud automatically emails a link to download the completed mesh to the email address associated with your API Key. For higher quality results, consider processing your photos locally using Metashape or other similar photogrammetry software.
Check out the guide for more information on scanning.